Okay, let's talk about turpentine. Turpentine is nasty. Turpentine evaporates into the air quickly and it can get into your bloodstream even through healthy, unbroken skin. Odorless mineral spirits are a safer alternative ( Gamblin's Gamsol is good), but they are also a petroleum product and are by no means "safe". So, here's what I do and why I do it. I use OMS for brush cleaning. It's cheap and works well. I use judicious (i.e. very, very small ) amounts of turp for my actual painting, and usually only in the early stages for underpainting. Turpentine doesn't cloud like OMS, and quite frankly, I like a little hint of the sweet smell of it in my workplace. I also encourage you to use pure gum spirits of turpentine, and not just some crap from the "Home Store" ( they always say that on This Old House even though Lowe's is a sponsor ).
You also don't really have to use solvents with your painting if you're concerned about safety or you have allergies. You can use M.Graham's Walnut Oil Medium which is fairly safe ( it's basically a cooking oil) for your medium and you can use just about any kind of natural oil to clean your brushes with.
So, if you want to use turpentine, open a window and be careful with it. If you tend to handle hazardous materials in a Jerry Lewis-like fashion, then use something else. Okay, enough of this.
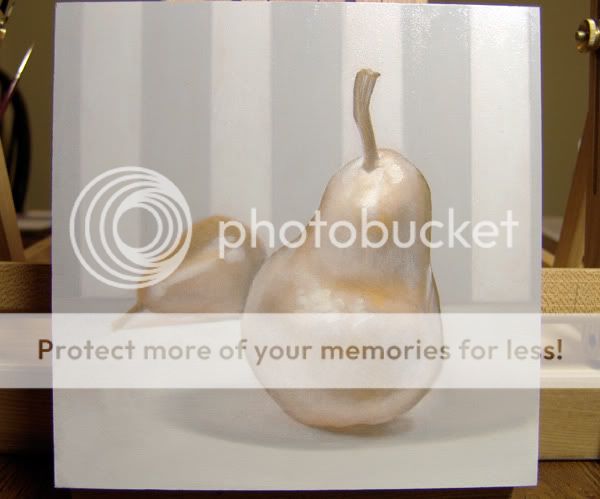
After my underpainting is dry, I "build" my underpainting with a monochromatic ( one color) foundation or grisaille. I'm really only concerned about values here, and I try to use the warm earth tone to guide the temperature of the composition. This example is fairly quick and dirty, but I usually spend most of my time in this stage. One point to remember is that you'll be glazing layers of color over this underpainting, so be mindful of the fact that you want this too be slightly brighter so that the colors don't effectively diminish the light when you apply them.
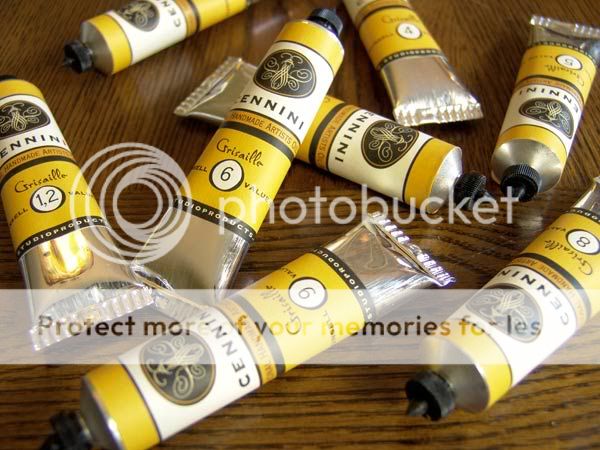
I used a grisaille set from Studio Products that has the greyscale values pre-mixed in accordance to the Munsell Tonal Chart for this tutorial. This set is fantastic if you want to make subtle variations in the background that will "shape" the colors when you glaze. I made up a little striped wallpaper backdrop to illustrate how precisely mixed greys can accelerate this process.

Okay, let's talk about neutrals and greys. I like to mix neutrals myself from color relative to the composition with the primary focus being on simultaneous contrast. I really believe that employing this in your painting makes it come to life . Take away any silly little joke that might be the thrust of my painting and you'll still have this operating on a subconscious level and effectively engaging your viewer. See? You can wash my mouth out with soap and I'll still have a little something to say, baby!
So what I'm trying to say is DON'T just use black and white. It robs your painting of significant depth and it's lazy.
Here's the grisaille. I'll leave this alone for five or more days to dry. The next step is adding color.

While I'm waiting for my painting to dry, I like to watch trailers for really bad movies. Here's one right now:
My favorite line here includes the phrase "caught between a dangerous loser... and a girl... they both love".
I mean, we've all been there, right? Pin It Now!


